
Apr 29•6 min read
Owning my Stacks data on Threefold Grid
The ThreeFold Grid is a global, neutral, and sustainable network of autonomous storage and compute internet capacity created by ThreeFold Farmers. It happened that I became a ThreeFold Farmer. I will explain what that means and how I finally could deploy a Gaia storage hub independently of big tech companies and with good conscience in the cloud.
Prepare your wallet
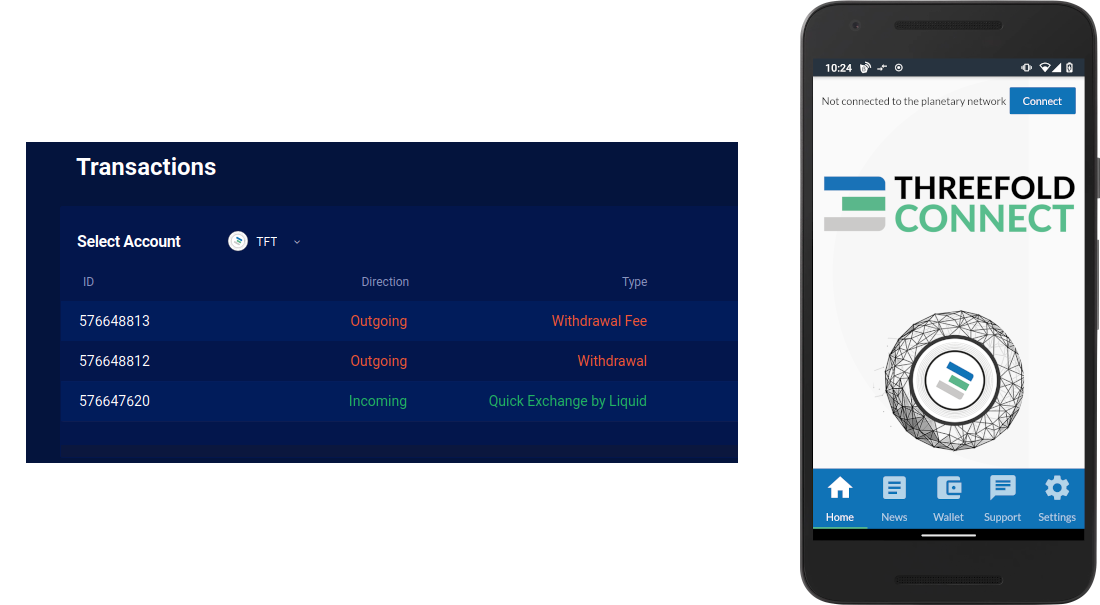
First step, is to install the Threefold Connect app, your wallet and your authenticator for all Threefold apps. It stores your Secret Key, your 24 secret words. You could use the same Secrect Key as for your Stacks Wallet or choose a new one. The Threefold Connect app provides an address on the Stellar network. With that, get some Threefold tokens (TFT). TFT is used to pay for your computing similar to how you pay your AWS in USD or so. You can directly buy TFT in the app with Bitcoins or you can use an exchange like liquid.com
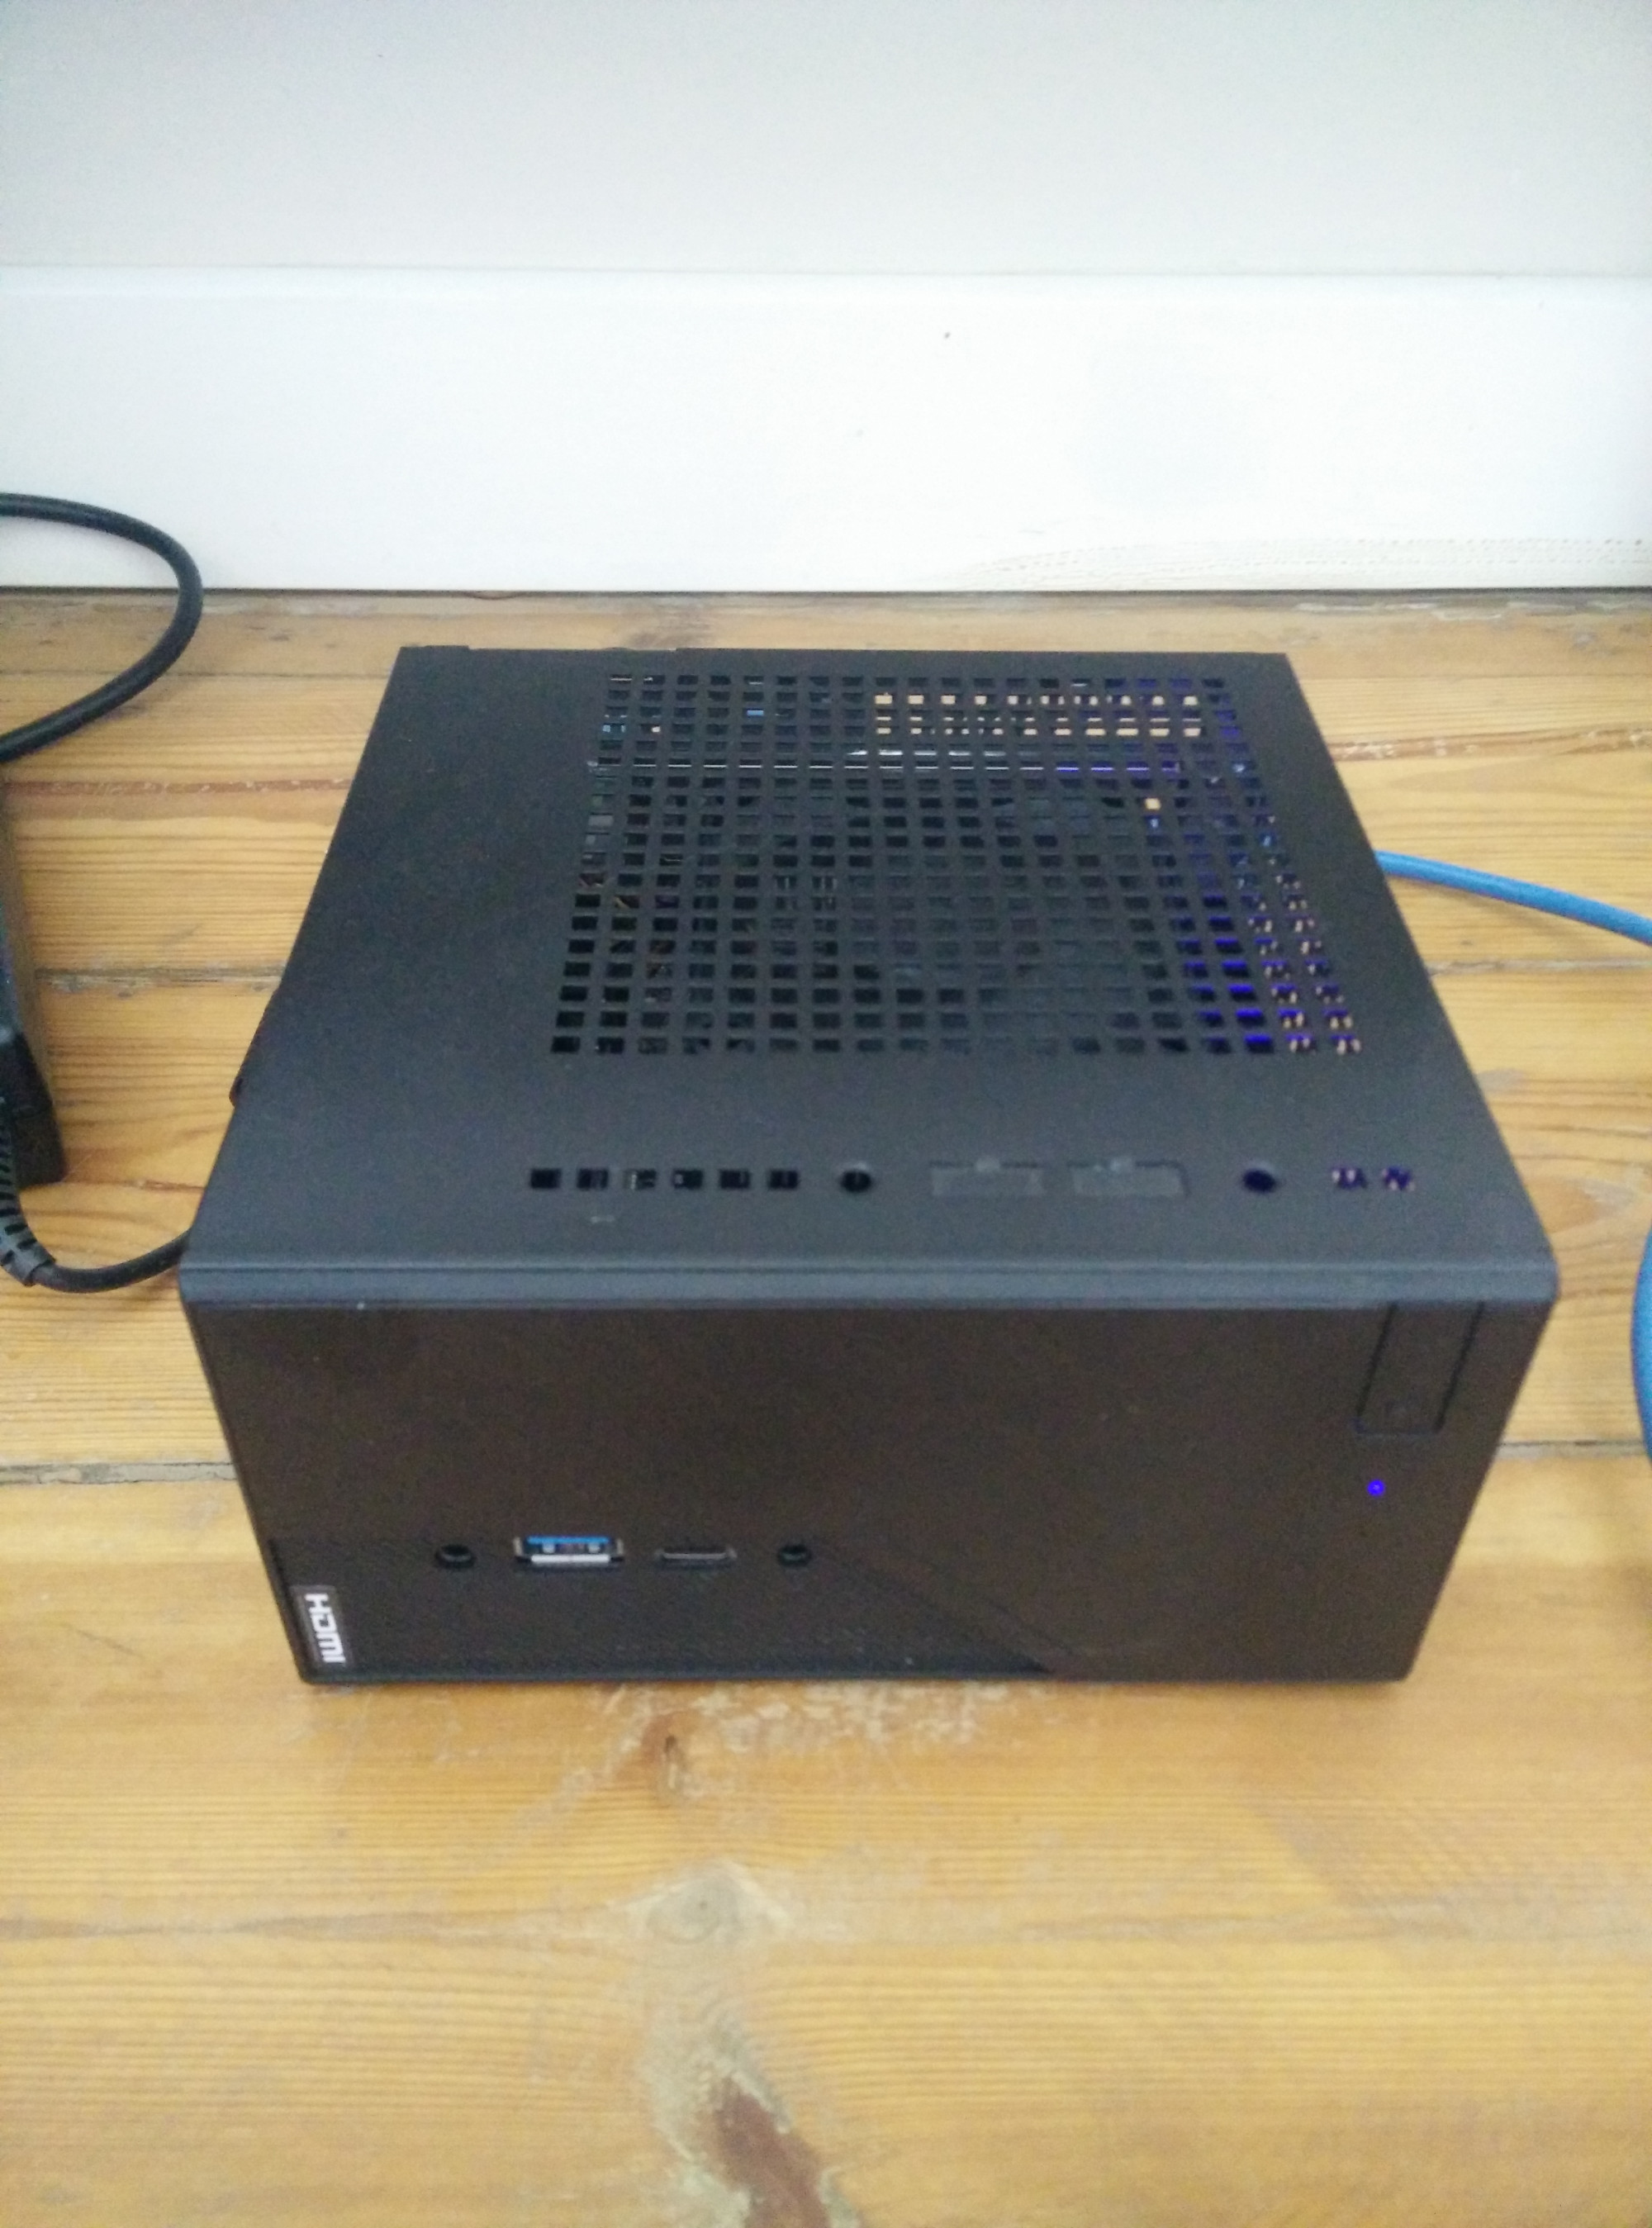
Connect your machine
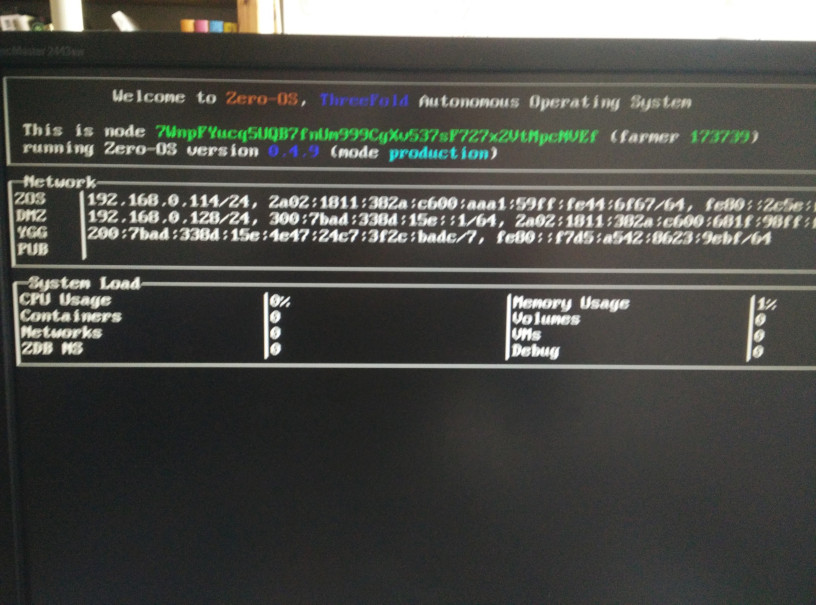
Second step, connect a good machine to your home router that runs Zero-OS with your stellar address configured. You can also order a pre-configured Titan v2 and just plug it in. That is it. You machine will appear in the explorer of the ThreeFold grid as a new computer and storage resource.
The screen will show your local IP address. Unfortunately, it does not have a public ip because it is behind the home router. One option is to order a public IP from your internet provider. The other one, is to configure your firewall. I will look into that later.
Setup your 3bot
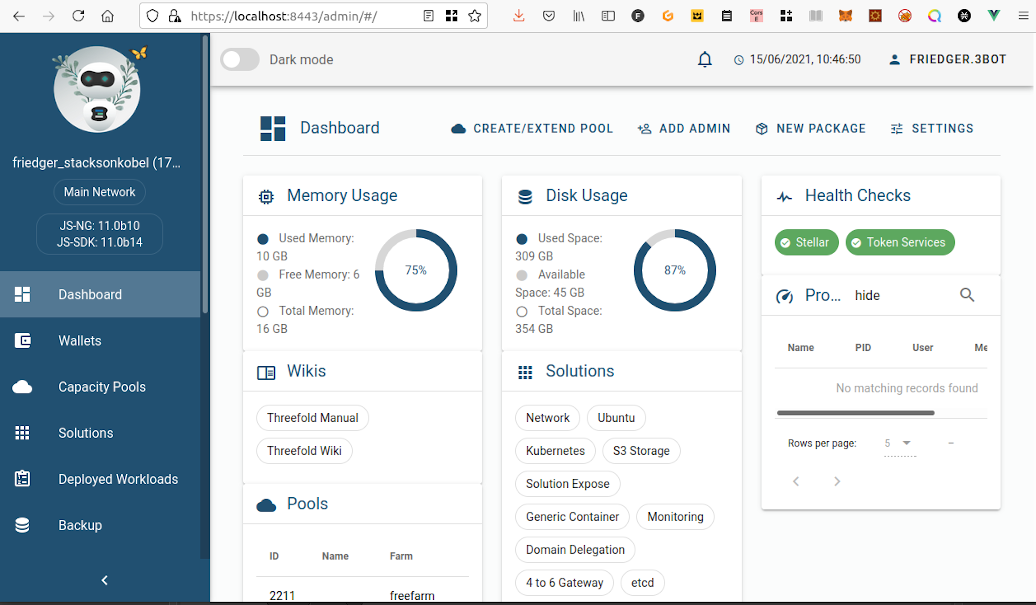
Now, that we have our machine on the grid, how can we use it? To manage anything on the grid, you should use a 3bot, that is your system administration platform. It is a web app, that allows you to deploy for example a stacks node on your machine. You can run the 3bot app locally, or use a hosted version. I chose to use a hosted version. There is a web app that helps to deploy a 3bot on the grid. It is straight forward process (see manual here) and at the end of the wizard you are asked to pay for the hosting of your 3bot. It is around $0.10/day. I booked it just for one day and hoped to have all configured by then. Unfortunately, the hosting node had some network issues and I had to extend the rent for another day. By now, I managed to run the local version as well for free (see instructions here). Once the 3bot is installed, you can login to your system admin platform with your Threebot identity on your phone.
Create a Capacity Pool
The next step is to make a reservation of your computing resources. It is called Capacity Pool. For me, that was not easy to do because I didn't know about the resource units I could book nor what is a suitable number to use for running a gaia hub. One compute unit is 2 virtual cores, 4GB of RAM and 50 GB of disk. That looks good to start with a stacks node. Later, I can see how to increase the storage when the my gaia hub grows bigger. Therefore, I booked 1 compute unit only for one month and paid with my TFT tokens via the Threefold app (see the manual for detailed steps). A few seconds later, 90% of the tokens came back, because I paid for my own resources. 10% of the fees are given to the Threefold Foundation. The experience felt so different than Web 2.0 because I didn't need to create an account, I didn't need to ask anybody permissions and I felt confident about the process thanks to the smart contracts. Now, the cloud computer is ready to use.

Deploying Solutions (Part 1)
At first I tried to run a Stacks node and after lots of trial and error with different solutions that I deployed and deleted, here is what nearly worked for me:
- Optionally, setup trial with redislab and run a local client to monitor the logs (for details see ....)
- Deploy a network and store the wireguard file (see manual)
- Deploy a generic container using the following configuration (see manual):
Container resources : 2 cpus, 4096 MB RAM, 350 MB root file size
Attach volume: 40 GB, "/data" (The mount point must be "/data" because that is the specified stacks working directory in the config.toml of the stacks node)
Flist url: https://hub.grid.tf/friedger.3bot/blockstack-stacks-mainnet-data.flist (that is a merged flist of the blockstack docker image and the config/startup flist)
Container Interactive: no
Entry point: "/startup.sh"
IP6: no (maybe yes can be useful in the future because my farm does not have an ip4 address)
Container Node id, select automatically: yes (we only have one)
Container logs: yes (if you want to know what is happening on the node)
Redis details: e.g. use details from free trial from redislabs
Container IP: (write down the ip address) - On your local machine setup wireguard with the downloaded wg file.
Now, you can enjoy the log entries via the redis client and the stacks node api via the ip address of the container
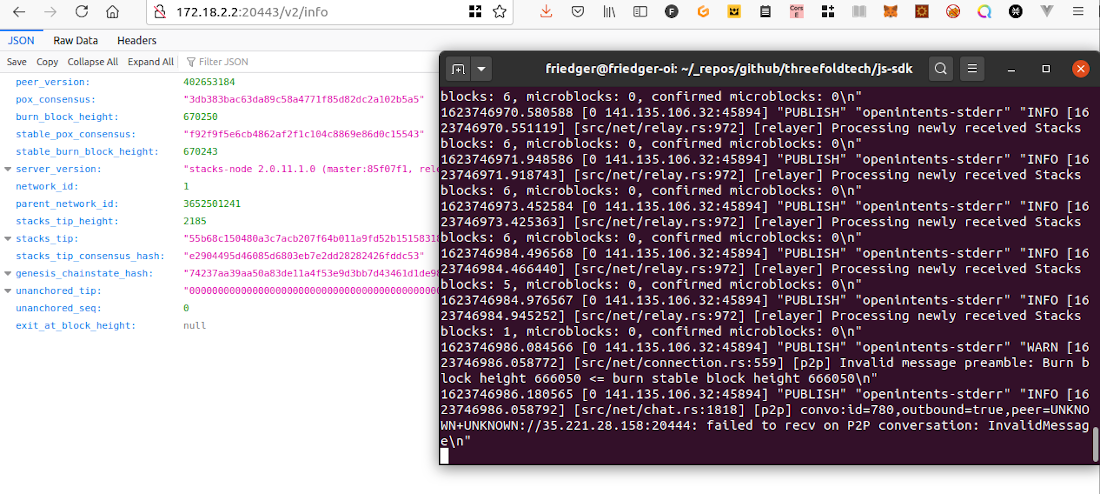
Unfortunately, the node crashes for some reasons. And it might be better to run the Stacks node in a Kubernetes container. That is for later.
Deploying Solutions (Part 2)
With the experience from previous trials and errors, it was not too difficult to get a Gaia storage hub deployed. At first I created two generic solution flists from the gaia hub and gaia reader docker images and merged them together into one flist: https://hub.grid.tf/friedger.3bot/blockstack-gaia-disk.flist
I used mainly the same settings as for the stacks node (I only change "/data" to "/storage" for the attached volume). This time I chose to use CoreX access and the gaia disk solution was deployed. The gaia files should be stored on the attached volume and can be managed independently of the deployed solutions. The hub should use the disk driver that is why we also needed the gaia reader.
The configuration for the gaia hub involved the hub itself and the reader. I opened a shell on my solution on http://172.18.2.2:7681/api/process/start?arg[]=/bin/sh and created the two config files:
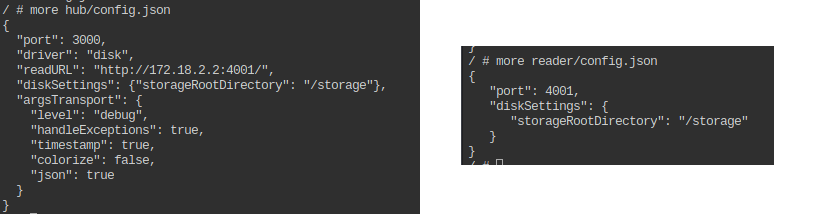
Then I started two new shells and typed in /hub and in /reader the start command npm run start. The gaia hub is up and running.
Using my Own Storage
With a small script using @stacks/storage that connects to the gaia hub and writes an unencrypted file, I was able to verify the setup. The content of the file could be read from the hub.

The next step is to integrate the configuration into one flist and have just one startup script. Also it would be interesting to explore a gaia driver for the Quantum Safe Filesystem.
From here, we can start building web apps using @stacks/connect where users own their app data, once we can configure our own storage, thanks to the effort by Harini and the Blocksurvey team.