
Apr 17•3 min read
How to Get a .BTC Domain (BNS) | Gamma Guides
.png)
By now, you may have seen Stacks community members on the Gamma marketplace, Twitter, and Discord with .BTC at the end of their name.
You may be wondering, what does this mean? How do I get one? Is there any point?
.BTC domains are registered through a smart contract on Stacks, secured by Bitcoin. This smart contract implements a decentralized name registry.
Given Stacks’ unique connection to Bitcoin, registering .BTC names automatically generates a pair of corresponding Bitcoin and Stacks addresses. As BNS develops, one future use case for .BTC names could be sending or receiving Bitcoin or Stacks via BNS addresses.
For now, you can use your BNS to transfer NFT’s or view someone’s collection on Gamma— for example, jamil.btc. Any registered BNS domain automatically has a profile on Gamma (gamma.io/yourBNSnamehere.btc).
So, how do you purchase one? Here’s a short walkthrough to help you out:
Head to https://btc.us/.
In the top right corner, you will need to connect your wallet by clicking “Sign In” – Make sure to select a wallet which does not already have a .BTC domain tied to it, as you can only have one BNS per wallet.
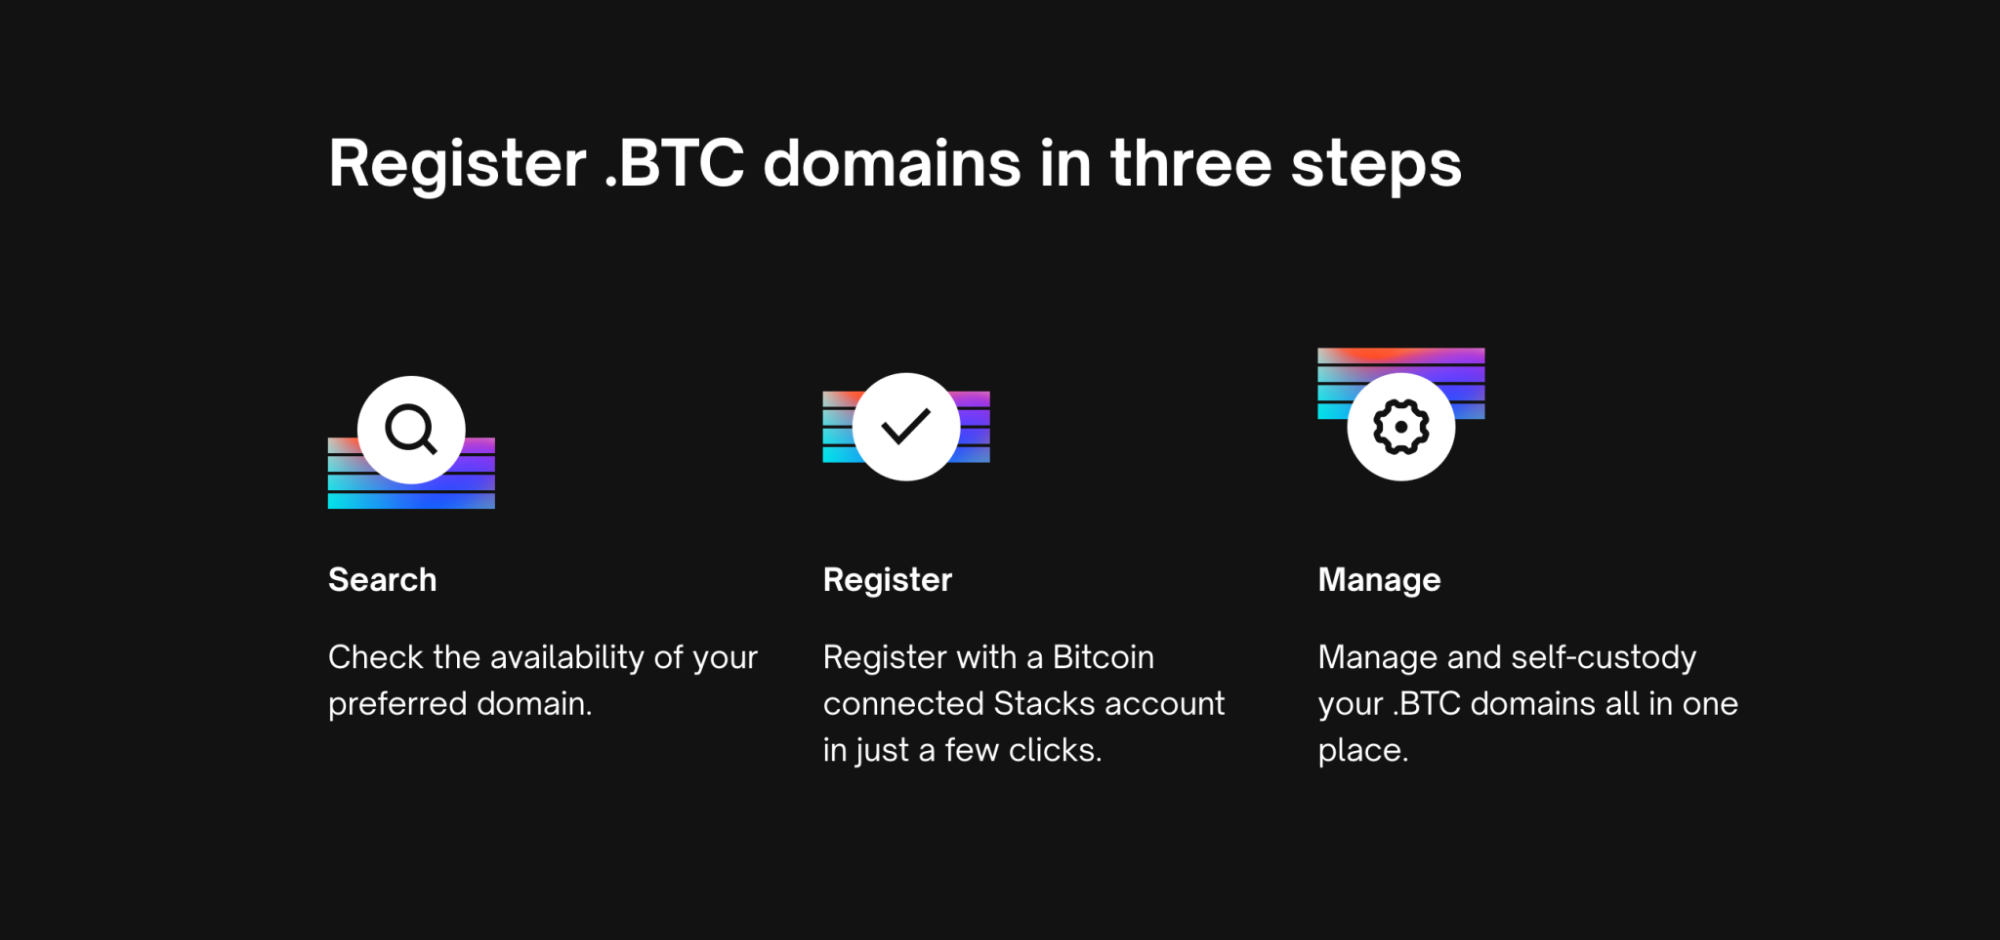
In the search bar, type in the name you would like to purchase — you will either see “Unavailable” or “Available for ~$5/5 years.” If a BNS is available, you can click “Get It.”
You will be directed to a new page where you need to ensure all the details are correct and then click “Continue.”
There are two steps on the next loading page: 1. “preorder” 2. “register” which both require a transaction and a gas fee.
Click “Send” to preorder – you will need to wait for the transaction to confirm (this will come up in small green writing.)
Next, click “Register” which will again require a small gas fee — wait for this transaction to confirm.
If your purchase was successful, you’ll see an update in your wallet labeled with your new BNS! You can now manage your new .BTC domain or purchase another one.
Finally, click “Account” in the top right hand corner, and you will be re-directed to a page where you can click “Sign Out” to disconnect your wallet from the website — signing out is good practice in Web 3.0!
Once you’ve got your BNS domain, it’s time to share it with the world! Let us know on Twitter if this guide was helpful.