Feb 05•4 min read
Sigle.io: Step by step guide 🤓

This content was created on app.sigle.io
In just a few words, Sigle is the perfect tool for writers/bloggers to easily create decentralized content and take notes.
That means no one but you owns your data and published work. It is safe from any censorship and you maintain your privacy and freedom.

Welcome to this beautiful and magic place that is called blockchain.
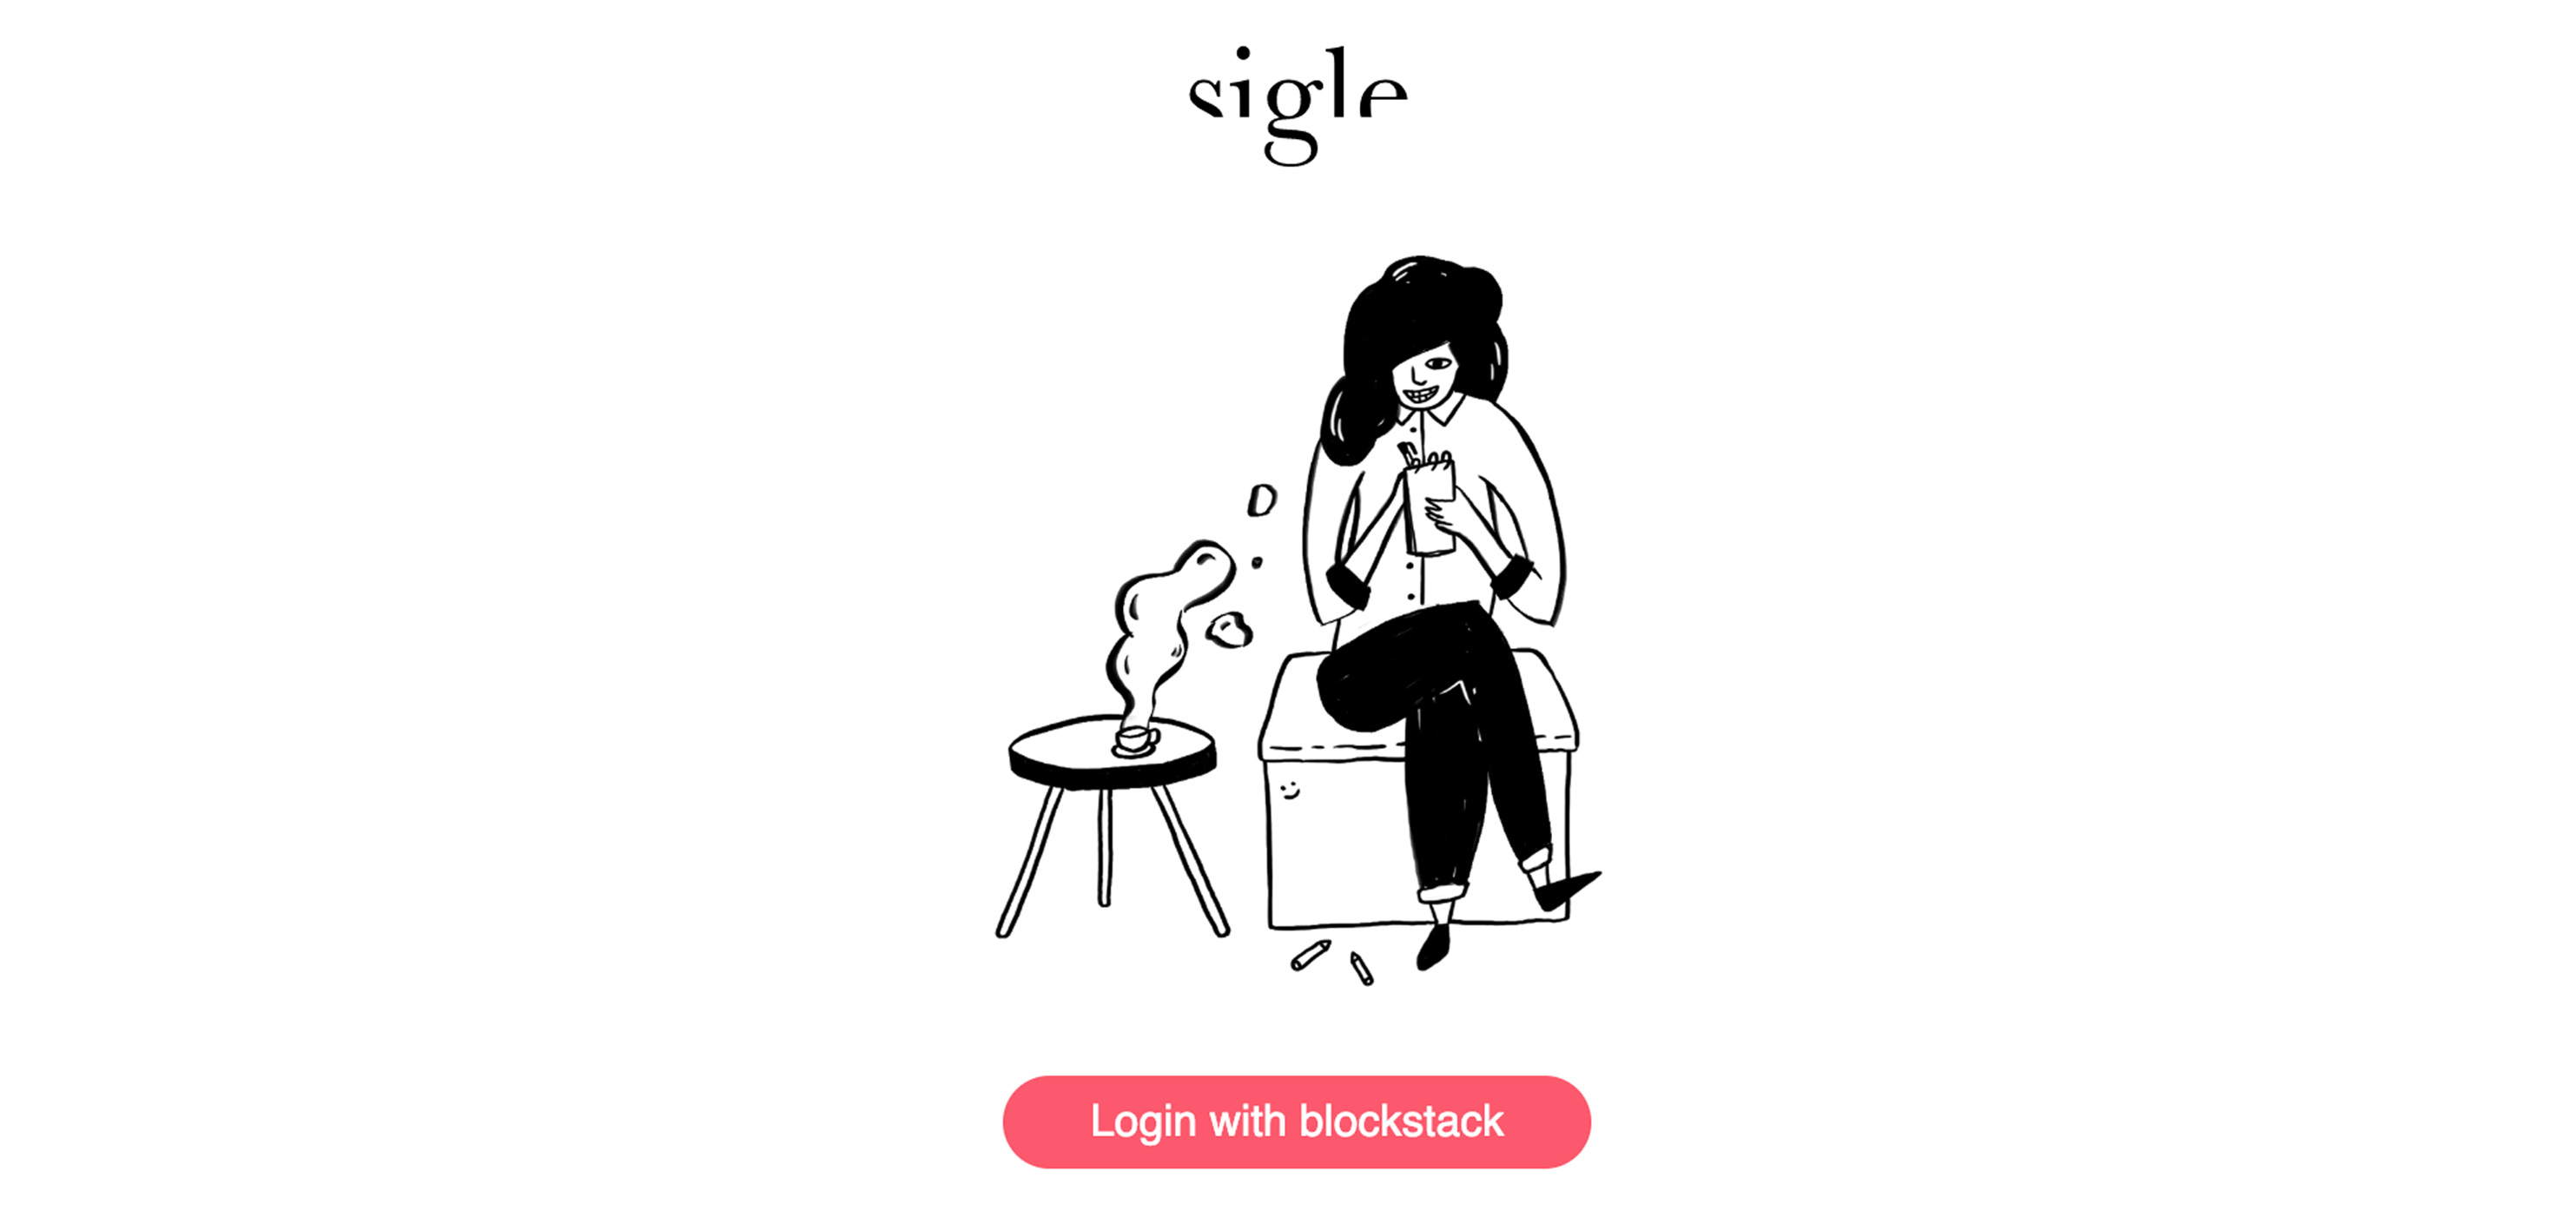
1 / Login with blockstack
You access Sigle through the Blockstack Browser.
If you are a new user, start by creating an ID. You'll be asked to create your decentralized identity.
Choose a username and click on "continue".
Now, choose a password. We recommend you choose a complex one and use a password keeper to save it (like BlockVault which is a decentralized app but, because it's made with blockstack too, you must create you account first. You also can use Keepass which is an open source project).
It is very important not to forget your password because no centralized server will be here to remind you of it!
You will then be asked for your email. It is necessary to get your recovery key. This key will be very helpful if you want to restore your account on a different browser. Save it, hide it 👻.
So far so good! Your ID has been created and you're now a part of the blockchain family. Awesome! 🤖
2 / Welcome to Sigle
2.1 • The top bar
In this part, we'll go around all different aspects of the app.
Wherever you are on Sigle, just click the logo to go back to the main page.
In the header, you will also find your blockstack ID.
This is the decentralized identity you choose during the creation of your blockstack account.

By clicking on it, you will open a new page. This is your blog URL.
Then on the right, you have a button to logout.
Easy.
2.2 • The interface
there are two sections on the left:
Drafts: It is where all your saved stories will go. You can edit them as long as you want. All stories in this section are encrypted, so only you can see and decrypt them by clicking the "publish" button.
Published: After having pressed the "publish" button, your story will disappear from the draft section and will go in the published one. Be aware that also mean you just decrypted it and it's now public. You can now click on your ID to see it on your blog! Well done!

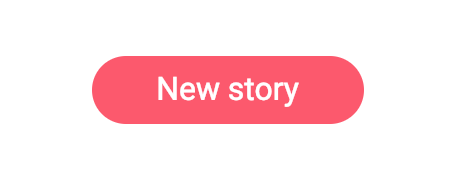
The "New story" button will allow you to access the editor page.
In other words, this is the place you will start creating awesome content for your blog.
One more thing!
If you want to delete a story, click on the "edit" button next to your story title.
You will then be able to find the "delete" button.
3 / Edit and create content
Whether you tap the "New story" or the "edit" button, you'll land on the editor page.
This is where you will write all the ideas that cross your mind. It's also where we're writing the content from right now.
Through a clean WYSIWYG text editor, this is what you can do on sigle:
Enter text content
Make it bold, italic or underlined by clicking on respective icons

Create quotes and numbered or doted lists like this one

Create titles by choosing h1 or h2

Add custom links and add images by copying and pasting links. You must host your images before (with goopics for exemple).

4 / Shoot the stars!
Now, you have a few articles ready to be published in your drafts and you're now excited to spread the word.

How? It's easy as ABC.
Next to every story you wrote in your drafts, push the button "publish".
As mentioned earlier, your stories are now in the "Published" section.
Now, simply follow your ID link to land on your blog:
To share it, copy the link and send it to your friends and on social media!
Don't forget to share it with us by mentioning @sigleapp on Twitter! 🙂
Your turn to give it a try!
Enjoy writing awesome stories ! ✍️
The Sigle team.