
Sep 10•3 min read
Decoding Discord Chats and Hangouts

Overview
Here is an easy overview of how to use the Discord chat and hangout features for Blockstack Community Calls!
Table of Contents
- The Community Voice Channel
- Joining the Hangout
- Controlling the Hangout
- Alternate View
- Video: Turn on Camera
- Sharing your Screen
The Community Voice Channel
This is an image of the main chat screen:
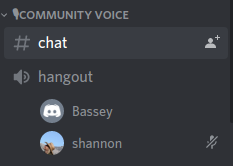
The chat channel is for typing text, sharing links, and anything related to the voice hangout.
The hangout channel is for voice, video, and screen sharing.
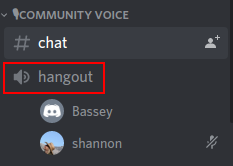
Joining the Hangout
By clicking on the hangout button (pictured below), Discord will add your name to the list of participants.
In the bottom-left of the screen, you will see an indicator that says `Voice Connected` along with some buttons to interact with the hangout.
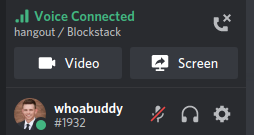
Controlling the Hangout
There are a few default actions from this screen, listed below with a screenshot for each.
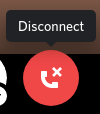
- disconnect from the hangout
- turn on your camera so others can see you
- share your screen with others
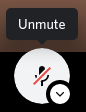
- mute or unmute yourself


These are the basic items needed to interact with the hangout, and while disconnecting from the hangout and muting/unmuting are fairly straight-forward, the other options are outlined in more detail below.
Alternate View
When viewing video or screen shares, an alternate screen is shown with some additional buttons that appear at the bottom, providing the same functionality as those in the bottom-left of the screen mentioned earlier, including:
- turn on your camera so others can see you
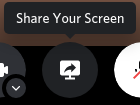
- share your screen with others
- mute or unmute yourself
- disconnect from the hangout
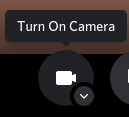
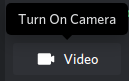
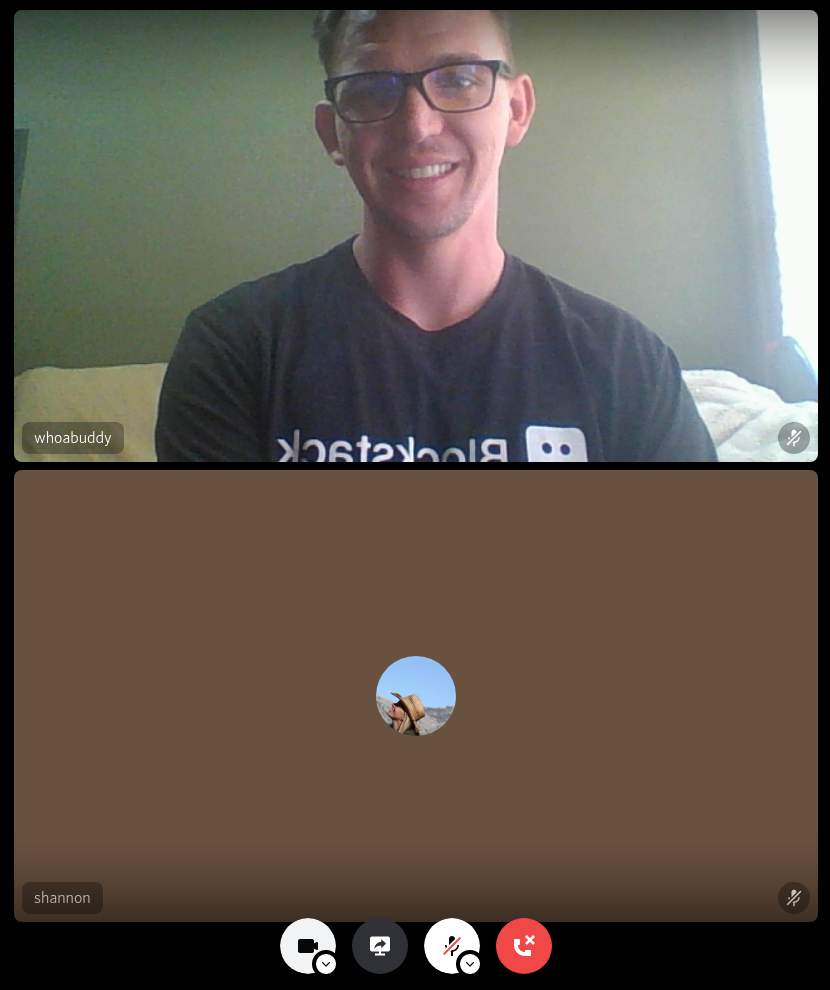
Video: Turn on Camera
By clicking this button, a new screen will appear over the chat window, showing your camera view as well as anyone else's on the call.
If someone is not sharing video, their avatar will be displayed instead.
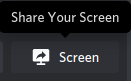
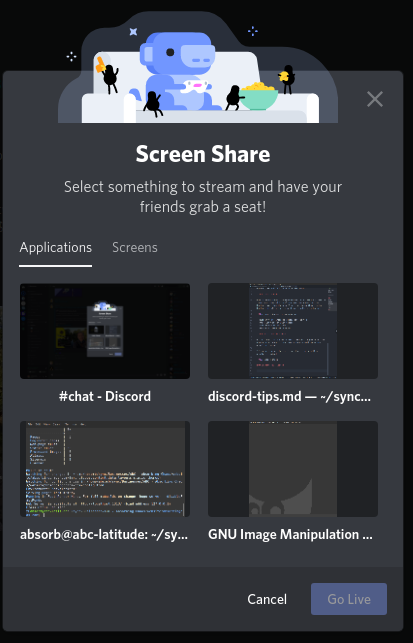
Sharing your Screen
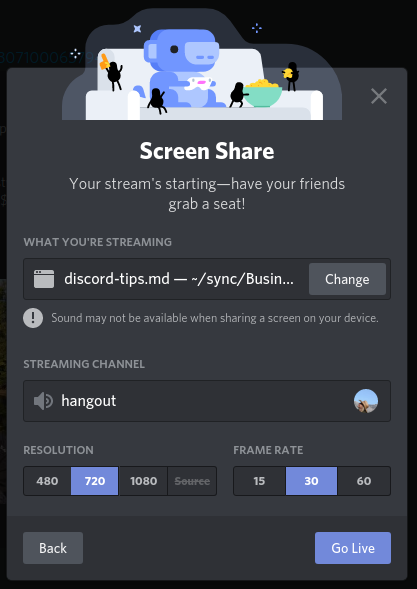
By clicking this button, a pop-up window will appear asking you for more details about what you want to share, with an option to "Go Live" at the bottom.
The first view is by application, allowing you to select an application to share without revealing any other screens you have open.
The second view is the entire screen, which shows everything on a given monitor, and allows you to switch between applications such as a presentation and a website.
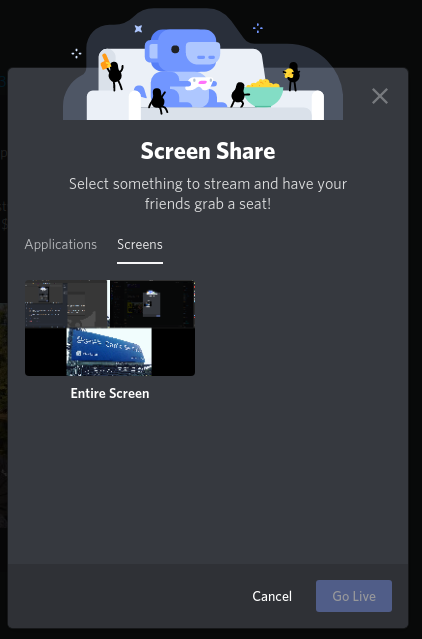
After clicking on one of these two options, a second dialog with additional options is displayed, allowing you to update some of the settings for the video shared.
Note: the defaults should be fine in most cases!
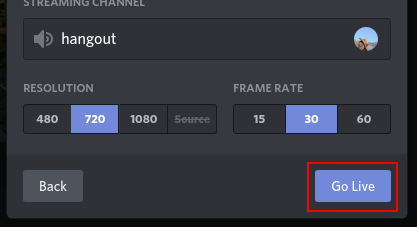
Finally, to complete the screen share, click "Go Live" at the bottom.
At this point, one of two things will happen (based on the regular and alternate views described earlier).
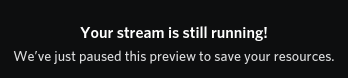
A) If you still have a chat screen open, you will see a tiny preview of your screen share in the top-right.

Note: it may be paused to save resources. Clicking on it will allow you to see what others see. (example below)
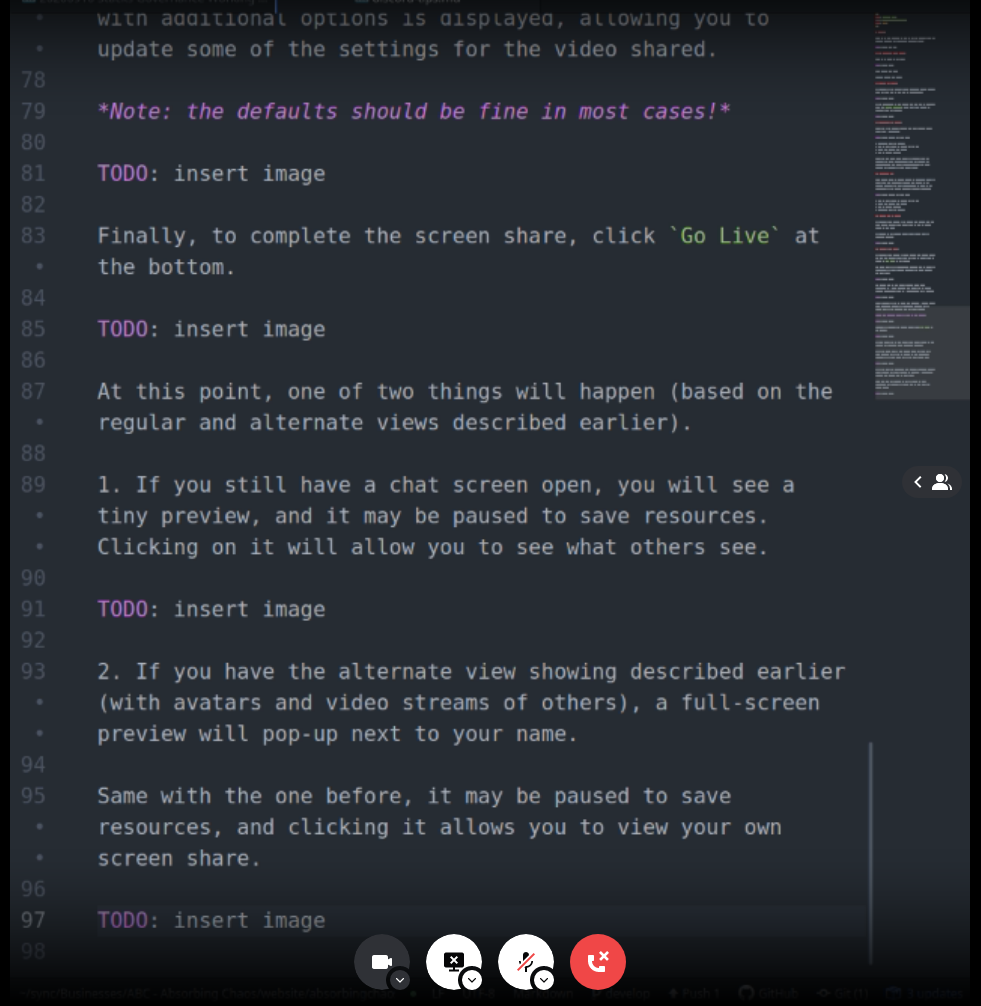
B) 2. If you have the alternate view showing described earlier (with avatars and video streams of others), a full-screen preview will pop-up next to your name.
Same with the one before, it may be paused to save resources, and clicking it allows you to view your own screen share.
And that's it! Now you're ready to hangout, chat, show video, and share your screen in Discord!