
May 06•8 min read
Step 0: Virtualbox + Ubuntu (Zero to Testnet Series)

Background
Some of this is covered on Blockstack's Testnet website, but I wanted to provide an alternate set of instructions from start to finish so that others can see how I did it. I am currently running a testnet node using Ubuntu Server 20.04 LTS using only 1gb of RAM, so this configuration should be possible from any host operating system with the added benefit of using an isolated container.
Step 0: Virtualbox + Ubuntu (Zero to Testnet Series)
<-- you are here
This series of posts will be broken up by topic, starting with this post (Step 0) on setting up the Virtualbox and Ubuntu Server environment, followed by each task laid out on the testnet website, including running a node, creating a smart contract, trying the CLI wallet, testing transaction signing, and trying mining. As the testnet website expands it is my hope to expand this series as well documenting my experience.
Prerequisites
To start, you will need Virtualbox, the Ubuntu Server ISO for the guest OS, and some willingness to work with the command line as we go along.
VirtualBox is a powerful x86 and AMD64/Intel64 virtualization product for enterprise as well as home use. This program allows you to run an entire "virtualized computer" on your machine. This means that whether you are running Windows, Mac, or Linux (the "Host OS"), you are able to run a second computer with a different operating system (the "Guest OS"). At the time of writing this post, the version used was
VirtualBox 6.1.6.Ubuntu Server is an open source server operating system with low memory requirements, a command-line interface by default (no graphical user interface or "GUI"), and a wide range of support for software packages. Using Ubuntu Server in combination with Virtualbox allows us to set up a Blockstack Node with as little as 1gb RAM! At the time of writing this post, the long-term supported version used was
Ubuntu Server 20.04 LTS.
Note: This guide was designed to point you in the correct direction for installing Virtualbox and Ubuntu Server as the guest operating system, however it does not cover every detail of the installation process. For more information on how to install the host software on your device, how to setup and configure a guest operating system, or how to work with Ubuntu Server and the command line, please reference the relevant help articles and materials provided by each entity and their surrounding communities, or reach out to me on the Blockstack Discord - @whoabuddy
Installing Virtualbox
https://www.virtualbox.org/wiki/Downloads
The fastest way to get Virtualbox up and running is to download the binary for your operating system under the heading VirtualBox 6.1.6 platform packages. Remember to select the operating system of the computer you are using now, and once you have Virtualbox installed and running, you are ready to move on to the next step.

Setting up the Virtualbox Virtual Machine
Download Ubuntu Server ISO File
https://ubuntu.com/download/server
The first step to installing Ubuntu Server is to download the ISO file from the link above, which we will use with Virtualbox to install the operating system.
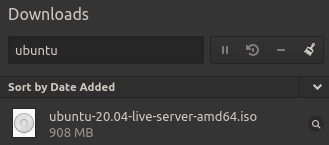
Save the file in an easy to access area and once the download is complete, start on the steps below.
Open Virtualbox and click New to continue to the Create Virtual Machine screen.
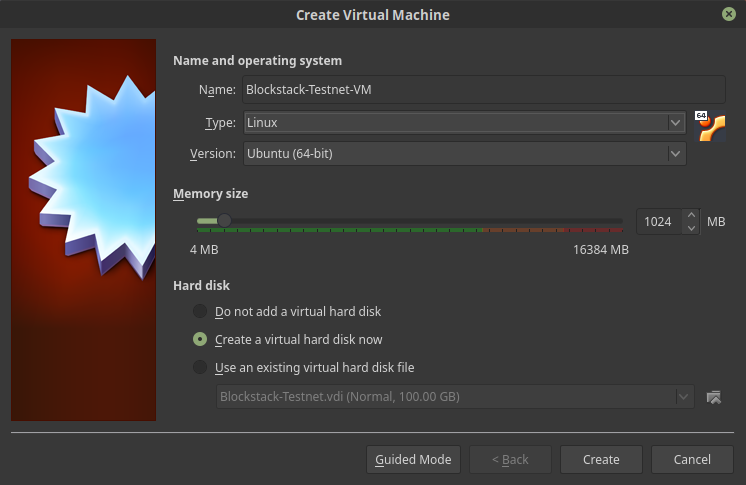
Name: Blockstack-Testnet-VM (or whatever you'd like!)
Type: Linux
Version: Ubuntu (64-bit)
Memory Size: 1024 MB
Hard Disk: Create a virtual hard disk now
Click Create to continue to the Create Virtual Hard Disk screen
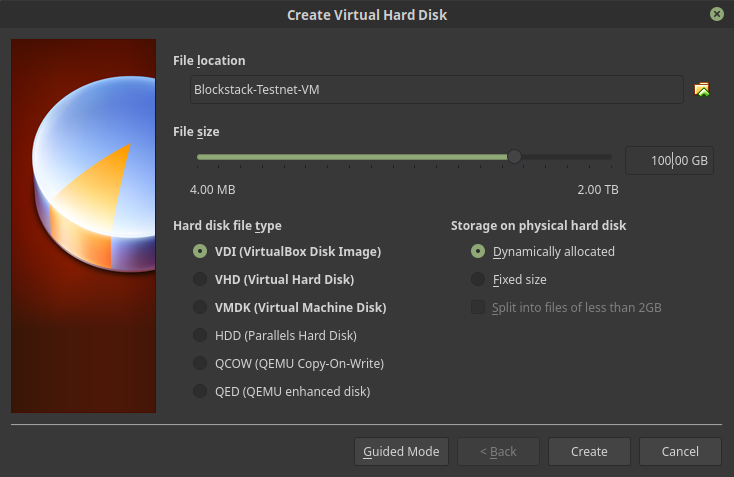
File location: Blockstack-Testnet-VM (leave default unless you need to change it)
File size: 100.00 GB (as of 2020/05/19 my dynamic size is 17.9gb)
Hard disk file type: VDI (Virtualbox Disk Image)
Storage on physical hard disk: Dynamically allocated
Note: As of 2020/05/19 the actual (dynamic) size of my Virtualbox VDI file running the Blockstack Testnet is ~18gb.
Click Create to continue to the Virtualbox Manager

Yay! The virtual machine officially exists! There are still a few settings we need to update before we can get started.
Click the Settings Gear button to access the Settings screen
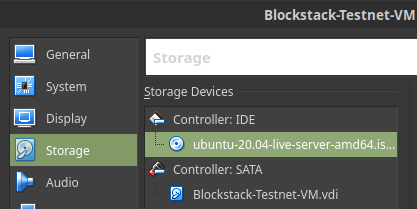
First, we want to tell Virtualbox the location of our Ubuntu Server ISO file, so that we can install Ubuntu Server.
1. Under Storage on the left-hand menu, select the empty optical (CD/DVD) drive under Controller: IDE.
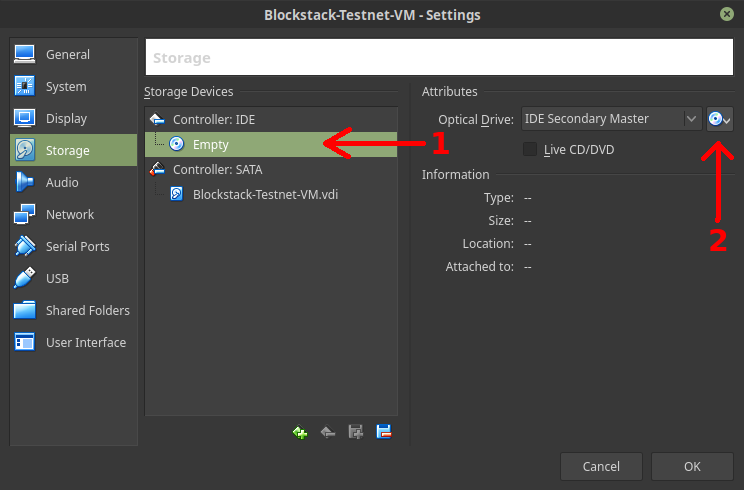
2. Click the CD icon and then click Choose Virtual Optical Disk File...
3. Select and Open the Ubuntu Server ISO file downloaded earlier.
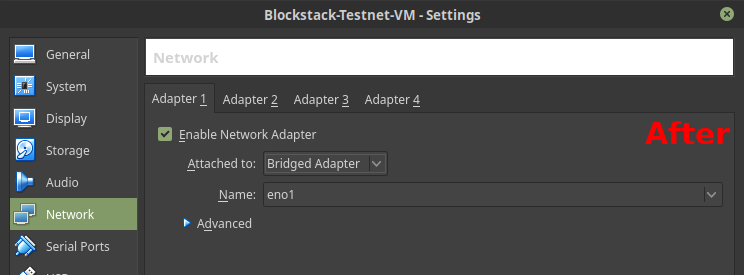
Second, we want to set up the network adapter to operate in bridged networking mode. This means the virtual machine will get it's own IP address on the local network and operate like a separate computer plugged into the router, which eliminates any unnecessary network complexity for the Blockstack node.
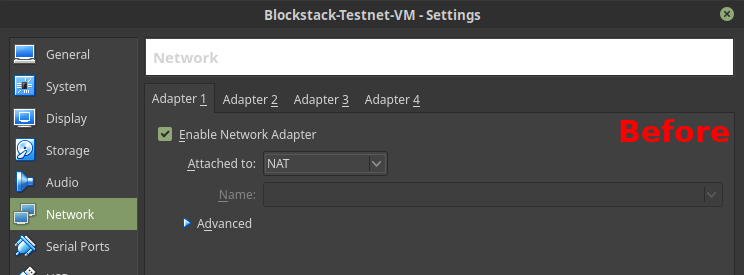
1. Click Network on the left-hand menu
2. Under the tab for Adapter 1, click the box for Attached to:
3. Select Bridged Adapter
Installing Ubuntu Server as the Guest OS
🎉 Congratulations, if you made it this far then you've reached the halfway point! ☕
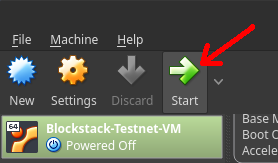
Now we are ready to start our Virtualbox virtual machine and install Ubuntu Server as the guest operating system.
In the Virtualbox Manager, select the virtual machine by clicking on it, then click Start.
This will open a new window for the virtual machine and it will begin to boot up just like a normal physical computer would. A lot of text will display and scroll by, this is normal as the Ubuntu Server installation loads. When you see the window below, you are ready to continue with the installation.
Note: The installation uses a simplified interface designed to work with the keyboard. For the instructions below, use the Arrow Keys and Enter Key to make selections. The default settings should work for most configurations.
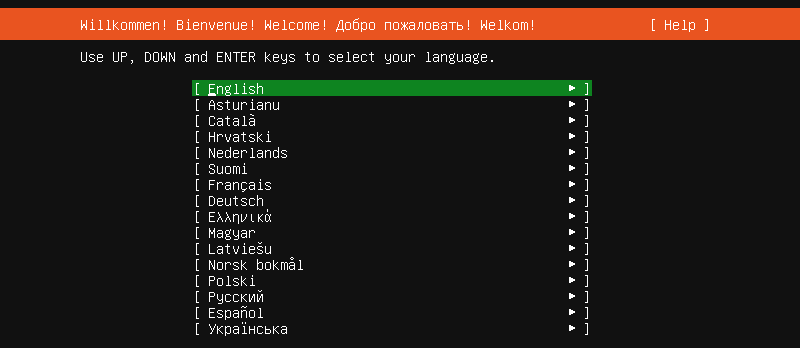
1. Select your preferred language and press Enter.
Note: If there is an update to the installer available it will show on the next screen, and you can choose to Update to the new installer or Continue without updating, both of which will take you to the next screen.
2. Select the keyboard configuration, then select Done and press Enter.
Layout: English (US)
Variant: English (US)
3. Select the network connections, then select Done and press Enter.
enp0s3 eth - DHCPv4 192.168.0.168/24
4. Enter a proxy address, if required to connect to the Internet, then select Done and press Enter.
Blank - I do not use a proxy
5. Configure Ubuntu archive mirror, then select Done and press Enter.
http://us.archive.ubuntu.com/ubuntu
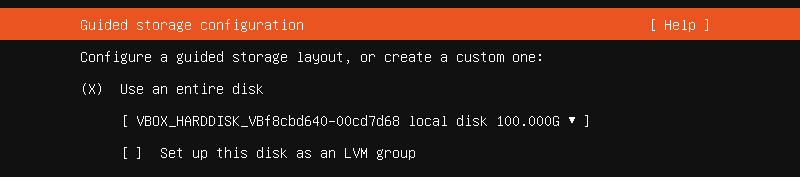
6. Setup the guided storage configuration, then select Done and press Enter.
Note: The default settings should automatically use the Virtualbox hard disk file created earlier, so in this case, it is 100gb and we leave the default settings for #6 and #7, which automatically creates the partitions necessary to boot Ubuntu Server. No modification necessary!
7. Setup the storage configuration, then select Done and press Enter.
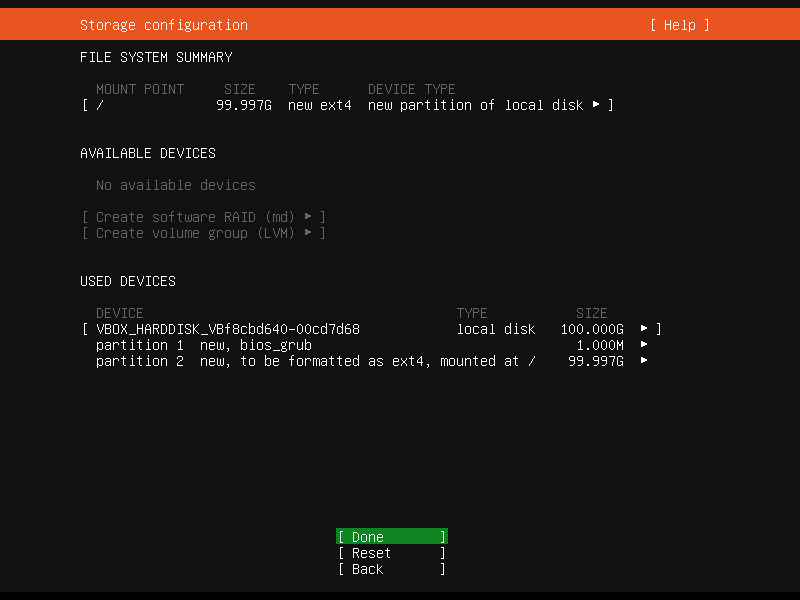
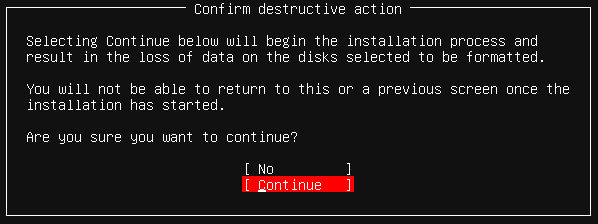
8. Confirm the changes based on the settings above, then select Continue and press Enter.
9. Complete the profile setup, then select Done and press Enter.
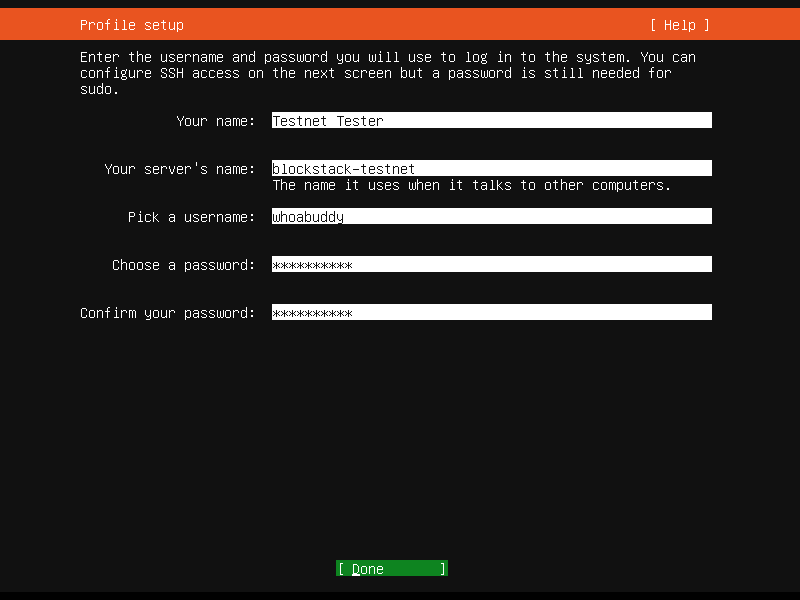
Your name: Testnet Tester
Your server's name: blockstack-testnet
Pick a username: whoabuddy
Choose a password: Love2test!
Confirm your password: Love2test!
10. Skip Install OpenSSH server
For simplicity we can leave this one alone, but if you are interested in accessing your machine via SSH, you will need to configure this step.
Leave the box unchecked, then select Done and press Enter.
11. Skip the Featured Server Snaps
Again, for simplicity we can leave all of these out.
Leave the boxes unchecked, then select Done and press Enter.
12. View the log while Ubuntu Server installs
Ubuntu will start installing based on the configuration settings above, including downloading and installing security updates, and when done will display Installation complete! in the top of the window.

Note: On my device if I select Reboot and press Enter, I receive a message that the installation cd-rom could not be ejected. To simplify this part of the process, I close the virtual machine by clicking the X on the window and selecting Power off this machine. I then start the machine again, which boots the new Ubuntu installation and should arrive at a login prompt.
Initial Login
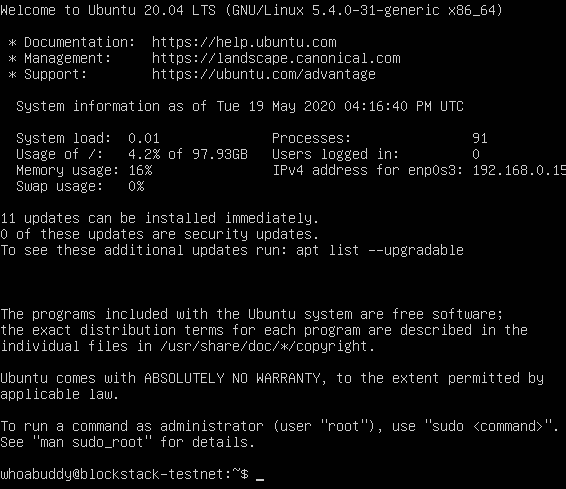
Now that we have our virtual machine setup, we can log in using the profile information setup earlier. You will have to type the username (in this case: whoabuddy) followed by the password. Note: the password field does not show any characters as you type!

Once logged in, you will be greeted with some system information, statistics, and a command prompt to run your commands. This is the default interface for Ubuntu Server.
From here, we can follow the instructions from the Blockstack Documentation to Run a Stacks Testnet Node, and I will create a separate post as part of this series to outline the steps taken as part of those instructions, as well as the other tasks outlined on the Testnet website. Stay tuned!!